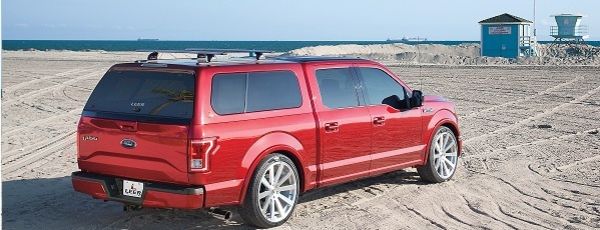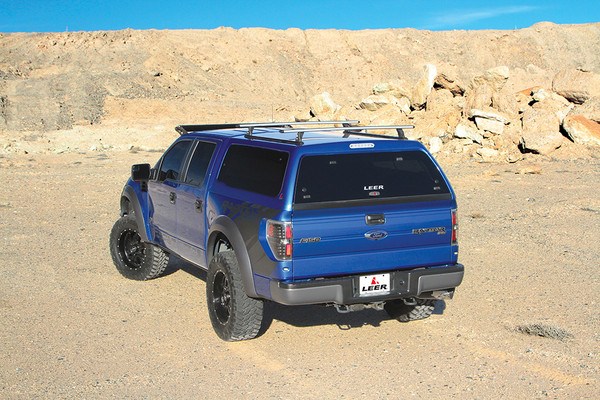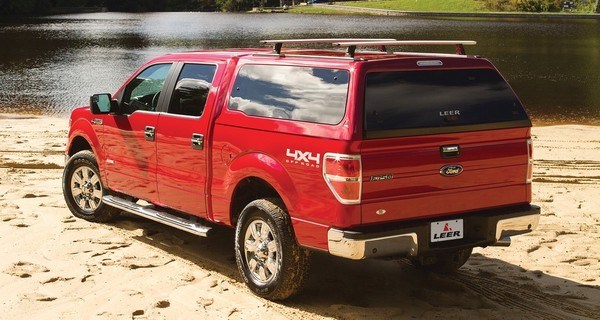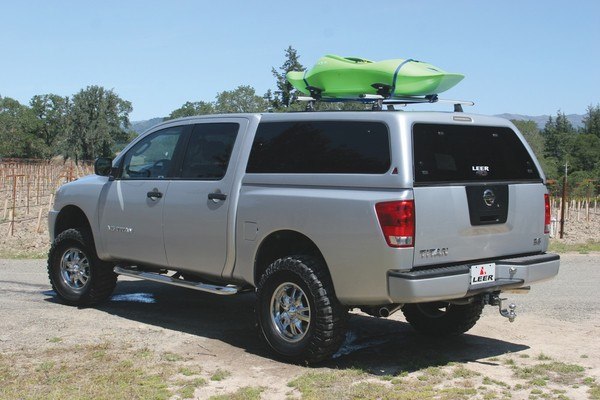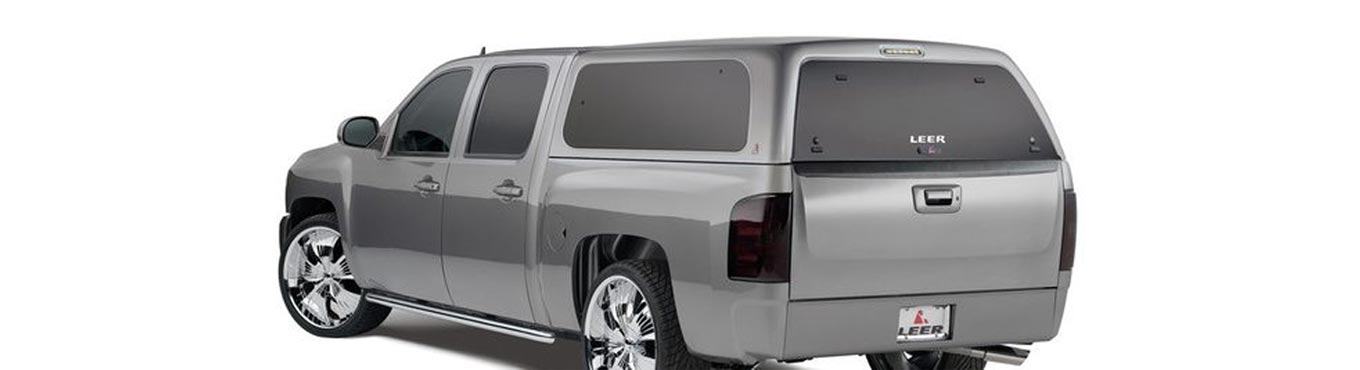
Camper shells have been one of the most popular truck accessories since our founding in 1970 and it would be almost impossible to put a number on the amount that we have installed over the years. After all of these years, our professional installers can roll through camper shell installs; however, most people do not realize everything that goes into installing one. In this blog we are going to go through, in detail, each step that we take when installing a camper shell. Let’s begin!
- Clean the Camper Shell – First, our installers grab the camper shell with a forklift and bring it to the shop. We then clean the entire shell. This starts with a full wash of the shell and then we take glass cleaner and clean the inside of the windows if they are dirty. Along with this, we also clean the rear window of the truck because it can be very hard to clean if the camper shell does not have a removable front window.
- Shipping Boards Removal – When camper shells are sent to any of our 6 stores they always have shipping boards on them. These protect the camper shell when it is in transport on the road and when it is at one of our stores. The shipping boards also provide a great clamping surface, allowing the camper shells to be secured while in transport. Our installers take these off so that the camper shell is ready to be installed directly to the rails of the truck bed.
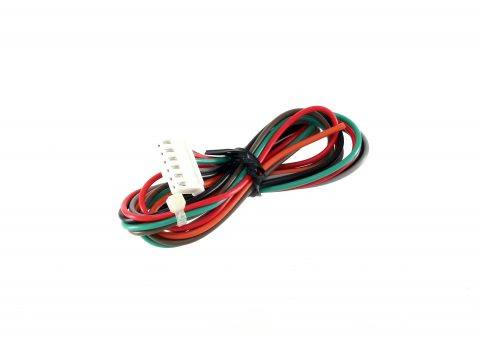
- Wiring – Many people do not understand what it takes to wire a camper shell correctly. It all starts with running a hot 12v line from the battery in order to provide power to the light that is inside the camper shell. We run this directly from the battery all the way to the inside of the truck bed near the driver side taillight (every truck is different based on the wiring access points of the truck bed). There is also a fuse, usually close to the battery, to comply with standards. Along with the 12-volt line, we also run a ground coming from the truck bed to the best grounding surface on the truck. Lastly, we run a line for the third brake light on the camper shell. We tie this line into the proper wire that is linked to the rear taillights so that it works in sync with the two other brake lights. The location we tap into for the third brake light wiring is different for every vehicle, sometimes we have to run the wire all the way near the cab of the vehicle. Like the 12v line, this one also requires a fuse integrated into the line for safety. All of these wires are run out of the way from any moving or hot parts of the vehicle and are secured with zip-ties along the way to make sure that they do not come loose.
- Install of Camper Shell – Our installers then grab the shell with a forklift and set the camper shell on the rails of the truck bed. Note: if the truck has plastic rails on it, they usually run a
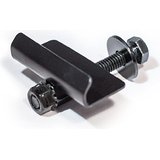 little bead of silicone on the front of the plastic rails in order keep water from coming in the cracks. After it is set on the rails our installers make any necessary adjustments by hand in order to get the shell to sit exactly where it needs to be. Once it is set, our installers take the camper shell clamps and clamp the entire shell down(short beds generally have four clamps and long beds generally have 6 clamps). These clamps are designed specifically for camper shells in order to provide a clean look while fully securing the camper shell to the rails of the truck. At this time the wiring from the truck is hooked up to the camper shell using an easy plug that we integrate into the camper shell install. Once hooked up, the 12v light and the third brake light are tested in order to make sure they are working correctly. Next, the back door latches and lock are tested in order to make sure they are all working correctly and the back door is checked to see if anything needs to be adjusted to keep a water tight seal. When everything is working properly the shipping stickers on the rear door are taken off and then one last cleaning is done on the door.

After that, the shell is installed on the truck and is ready for the customer! Our installers bring the truck up to the customer, hand over the keys, and the customer is on their way with their new camper shell. If you have any more questions about camper shell installs or want to get a shell for your truck, contact any of our six bay area stores and our expert staff will be ready to help you!