Rooftop tents are a popular choice for campers who want a more comfortable and convenient way to enjoy the outdoors. Instead of spending half an hour wrestling tent poles into place, a rooftop tent sets up in minutes, giving you a secure place to sleep and more time for adventuring.
That said, there’s more to rooftop tent camping than just heading out to the backcountry. Every trip requires careful preparation to help you and everyone tagging along stay safe and have a great time.
In this guide, we share real-world rooftop tent camping tips that most seasoned campers had to learn the hard way, so you don’t have to.
Skip ahead:
Hardshell vs Softshell Rooftop Tents
The hardshell vs softshell rooftop tent debate is going to be the first (and biggest) decision you’ll face when building your setup. Both types of tents will get you off the ground, but one will likely suit your needs better than the other.
Here’s how they compare.
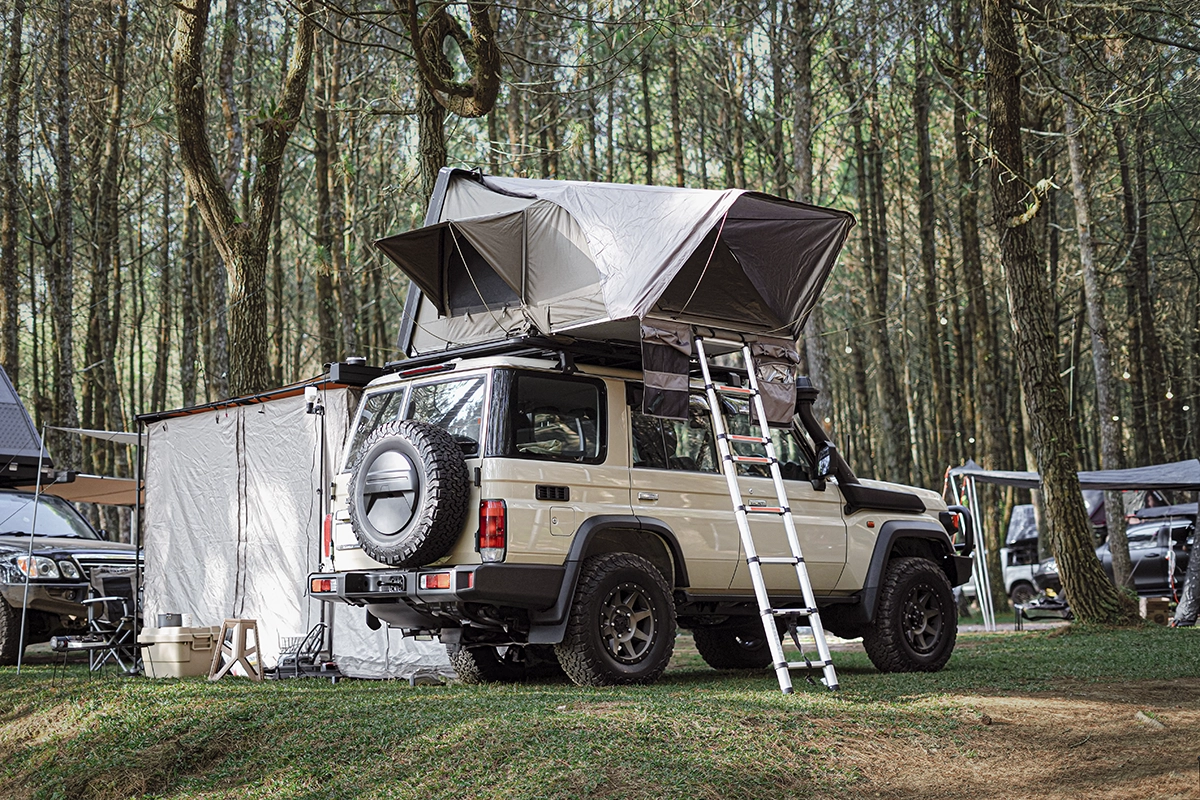
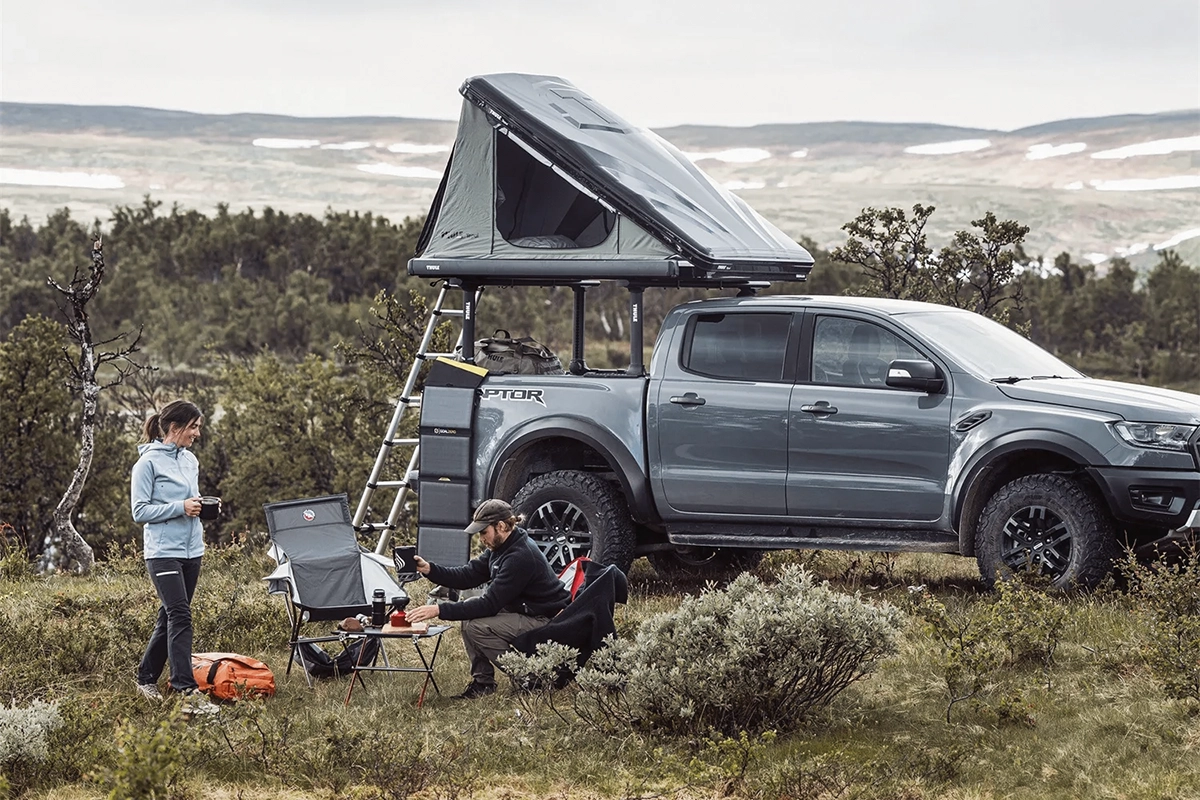
Hardshell Rooftop Tents
Pros
Cons
Hardshell rooftop tents have a rigid outer shell that offers superior durability and protection from wind and rain. They also set up in seconds, pack down compactly, and tend to have less wind drag while driving, making them a bit more fuel efficient.
While they can be heavier and cost more upfront, they are ideal for multi-location trips where ease of use and comfort are the priority.
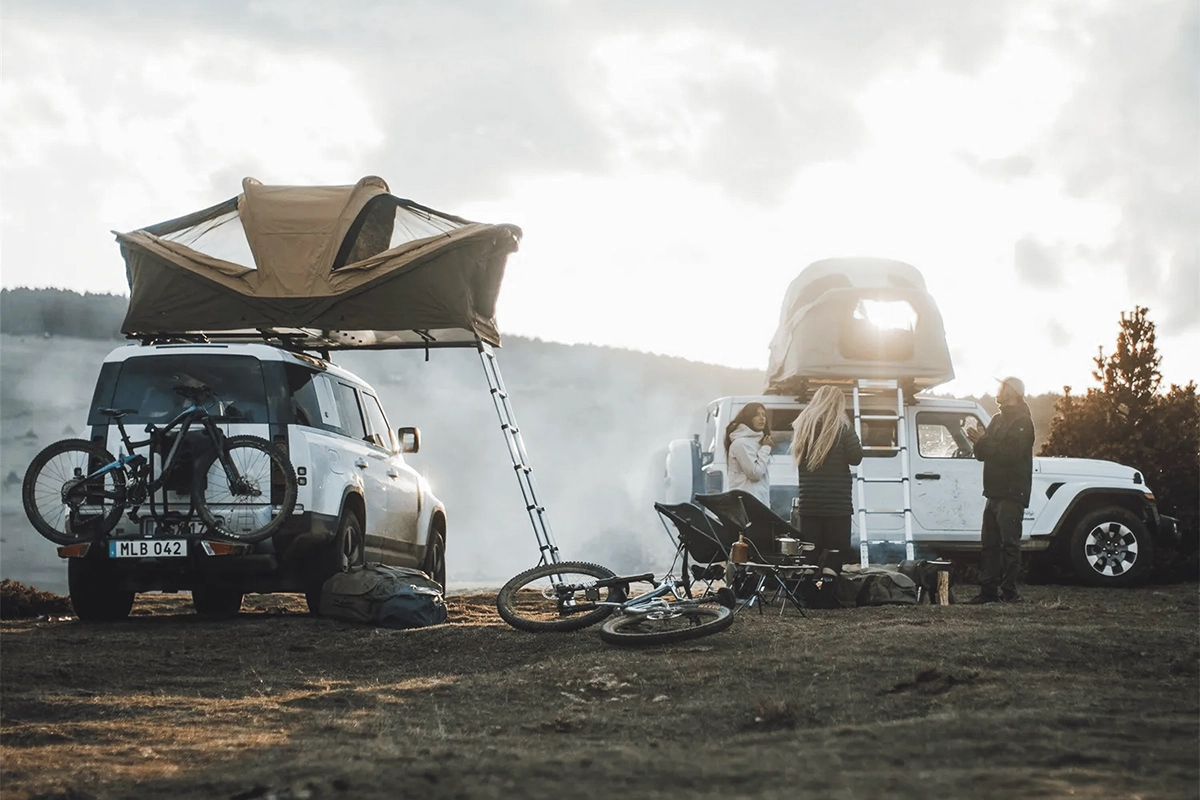
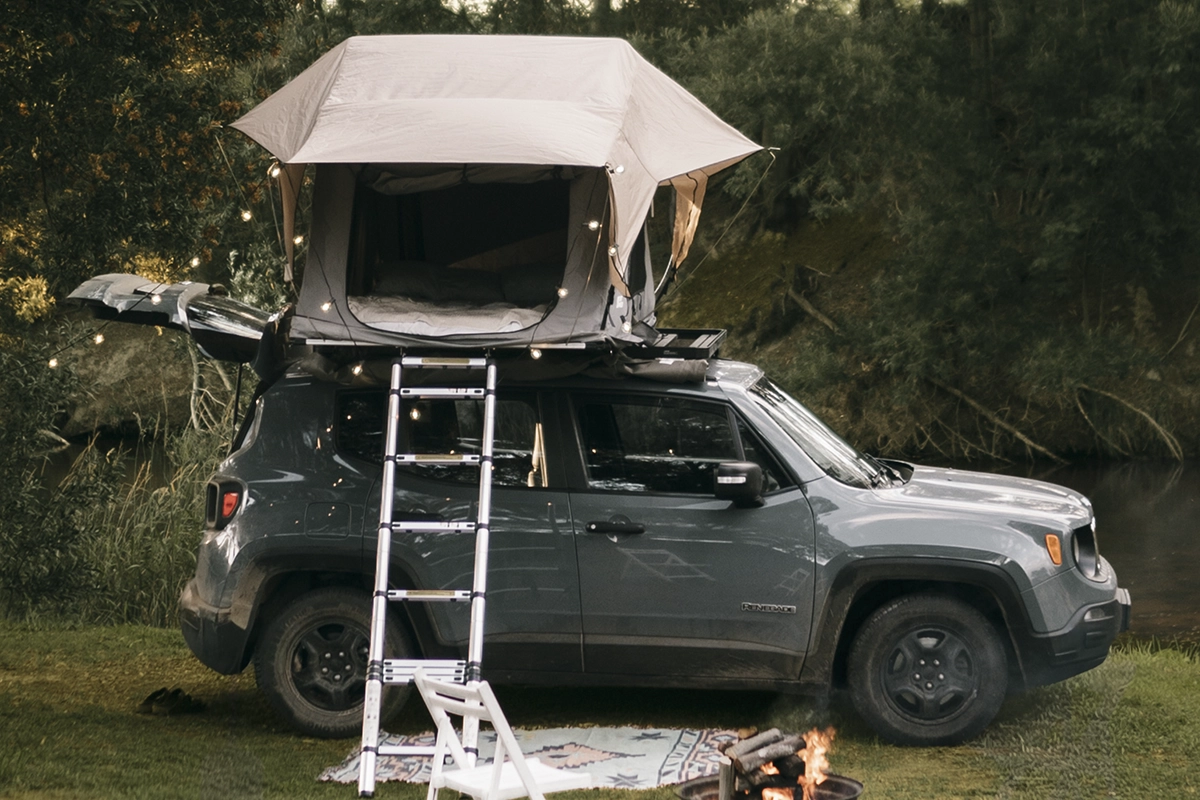
Softshell Rooftop Tents
Pros
Cons
Softshell rooftop tents are typically more lightweight, and many can be equipped with annexes or awnings for added space. Setup takes just a few extra minutes compared to hardshells, but they’re a great fit for large groups, budget-conscious campers, or base camping situations where you’re staying in one spot for multiple nights.
Pre-Camping Trip Planning and Preparation

The most important parts of a rooftop tent camping trip happen before you leave. Whether you’re planning a long overlanding trip with your SUV or truck camping for the weekend, thorough planning and preparation are essential for a safe, enjoyable adventure.
Here are some critical steps to take before heading out.
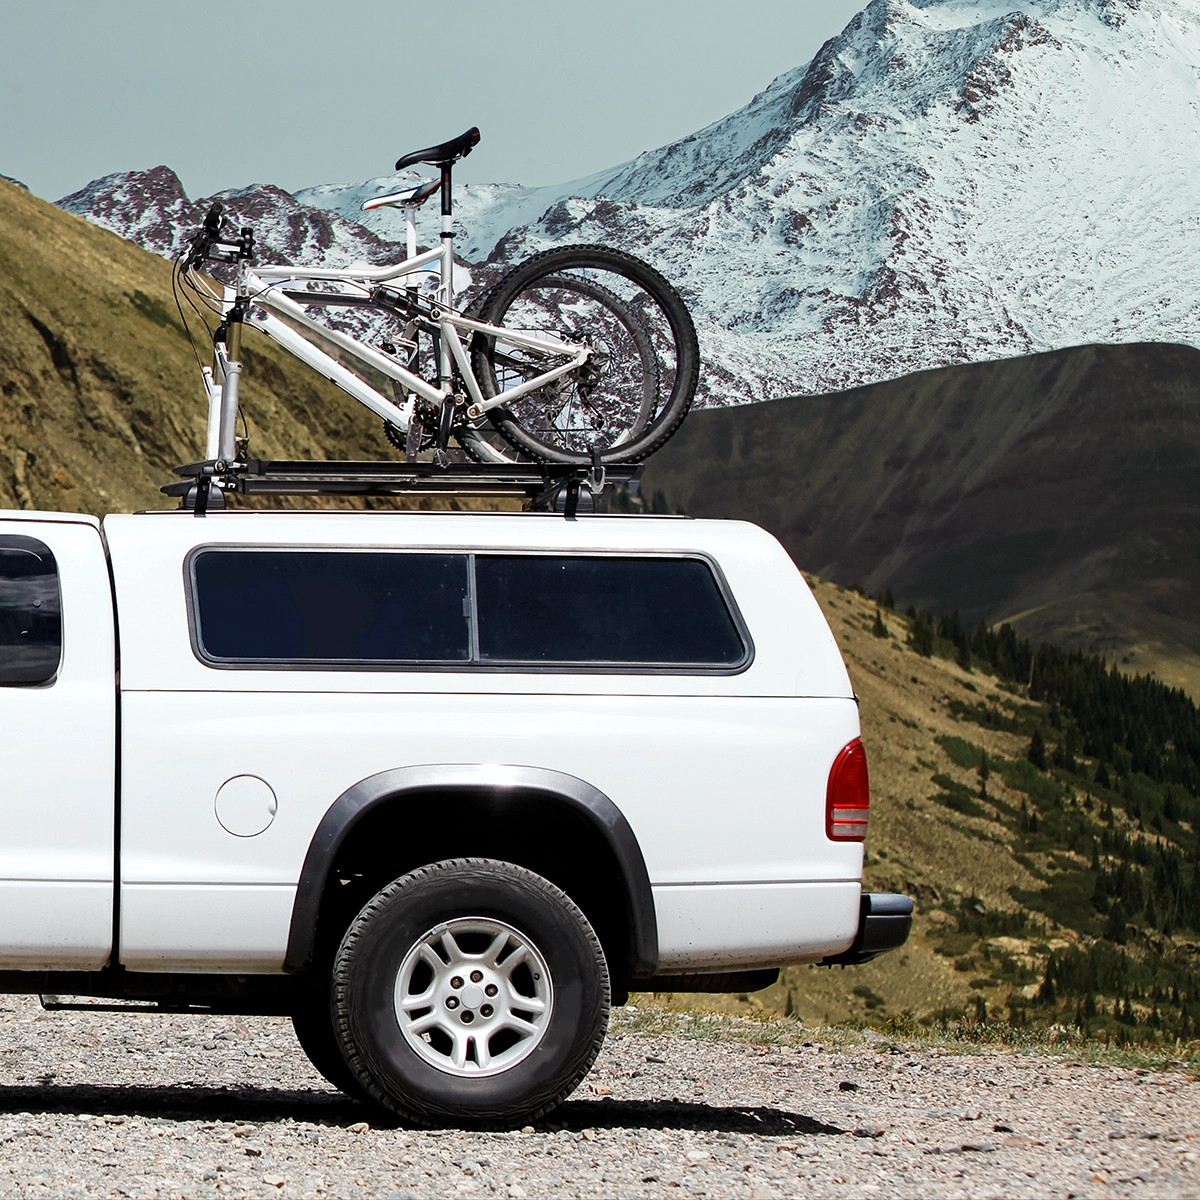
Know Your Weight Limits
Every vehicle has a payload capacity, which is the maximum weight it can safely carry. You can find your payload rating on the driver’s side door jamb sticker or in your owner’s manual.
Rooftop tents typically weigh between 100–200 lbs., excluding passengers and gear. Take inventory of everything you’re packing before you go to make sure you’re within safe limits.
The weight of a rooftop tent also raises your vehicle’s center of gravity, so you may need to adjust how you handle it on the road. Expect longer braking distances and more sway, especially if there’s wind. Plus, the added weight of the tent can cause a drop in fuel efficiency, so be prepared to use more gas than normal.
Consider practicing driving with the setup before pushing it on the highway or winding roads.
Know Your Height Clearance
A rooftop tent can add 6–12+ inches of height to your vehicle when closed. This changes your clearance limits for parking garages, drive-throughs, low bridges, and other overhead obstructions.
Before heading out, make sure you are aware of your vehicle’s height clearance with your rooftop tent attached.
Practice Setting Up Your Rooftop Tent
Even if you’re an experienced camper, it’s worth running through setup before you leave, especially with a new tent. A test run lets you check for missing gear and confirm that everything is working properly…before you reach your campsite.
At home, climb inside the tent and get familiar with the layout. Figure out where you’ll store essentials like your phone, keys, and lights so you’re not digging around in the dark. This is also a good time to make sure all mounting bolts are tight and the ladder is properly secured.
If you have a hardshell tent, consider leaving your bedding inside when packing up to save time and vehicle space. It’ll make setup much easier when you reach camp.
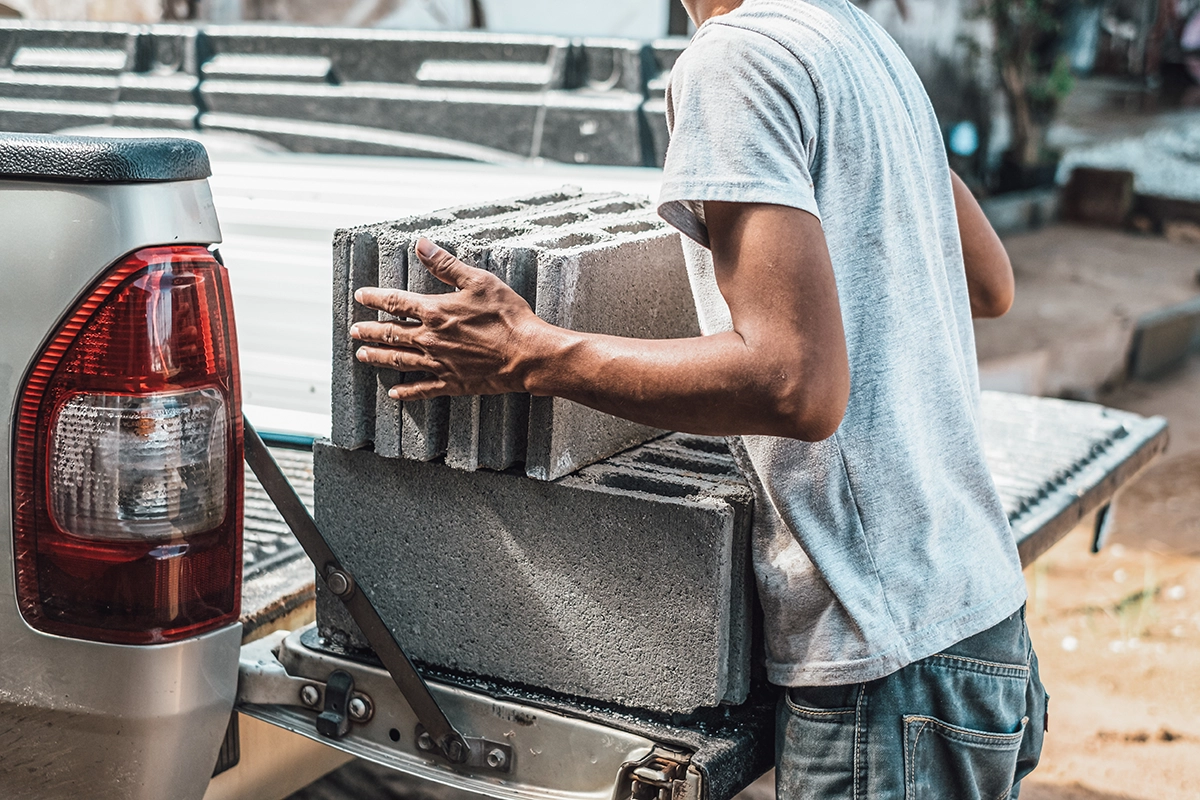
Pack the Right Gear
It doesn’t take a lot to get started with rooftop tent camping, but the right gear and accessories can make your experience a lot more enjoyable.
Beyond the basics, a few rooftop tent camping-specific items can meaningfully improve your trip:
Bringing these items along for your camping trip makes a noticeable difference once you’re out in the wild.
Rooftop Tent and Campsite Setup

Rooftop tents are some of the most comfortable ways to camp, but the right setup can make or break your entire trip. Here are some key tips and considerations for setting up your campsite.
Always Park on Level Ground
Once you’ve reached camp, find the flattest, most level spot to park. Use a bubble level or phone app to confirm your vehicle is level before committing to a spot. Even a slight incline can feel like a steep cliff when you’re sleeping in a rooftop tent.
You and all your belongings will slide to one side, which is not only uncomfortable but can also damage the tent. If needed, use leveling blocks to ensure a flat surface and make sure the tent ladder is stable and angled correctly, so it’s not too steep.
It’s also important to avoid parking under dead or hanging tree branches. These can fall at any time, especially with heavy rain or wind, creating a significant safety risk.
Have a Rooftop Tent Set-Up Routine
Nailing down your tent set-up means nothing gets overlooked when you pull into camp. When setting up the tent, make sure the opening is facing away from neighboring campers to block out noise. Once it’s up, triple-check that the tent is properly latched, and the ladder is secure. If it’s too steep or shallow, it can slip.
Inside the tent, assign a designated spot for your phone, car keys, headlamp, first aid kit, water, and other essentials. With everything in its place, you’ll always know where to find it, even in complete darkness.
Rooftop Tent Ventilation and Airflow Tips
Camping tents are prone to condensation because waterproof fabric can trap moisture when you’re breathing in a small space. Most rooftop tents have mesh ventilation windows that you can use to minimize condensation, regulate temperature, and prevent humidity.
Some campers also use anti-condensation mats, which put a small gap between the mattress and the floor so air can circulate beneath you. This keeps your sleeping surface dry and prevents mold and mildew.
Campsite Setup Tips
After setting up your tent, you’ll need to prepare the surrounding area as well. Awnings and annexes make your campsite even more comfortable, attaching to your tent to create additional covered space protected from the sun or rain.
Consider bringing a dedicated outdoor mat to place beside the ladder or by the entrance of your annex, if you have one. This creates a transition zone to avoid bringing mud, dirt, or leaves inside your tent. You may also want to set up a folding table to create a clean surface for eating, relaxing, storing gear, etc.
Campsite Lighting Tips
Since your rooftop tent is elevated, you’ll need proper lighting for both the upper level and ground level:
By ensuring both areas have proper lighting, you can make your experience safer and more comfortable.
Wildlife Safety
One of the key advantages of a rooftop tent is that you’re elevated off the ground. However, you’re still very much sharing space with nature, and animals are far more interested in your food than your sleeping setup. Follow these basic wildlife safety tips to keep your campsite secure:
By following the proper wildlife safety procedures, you can minimize your impact on the environment, protect your supplies, and enjoy peace of mind.
Rooftop Tent Maintenance and Safety Tips
A little ongoing attention goes a long way toward keeping your tent in good shape and your campsite safe. Below are some key habits to build into every trip.
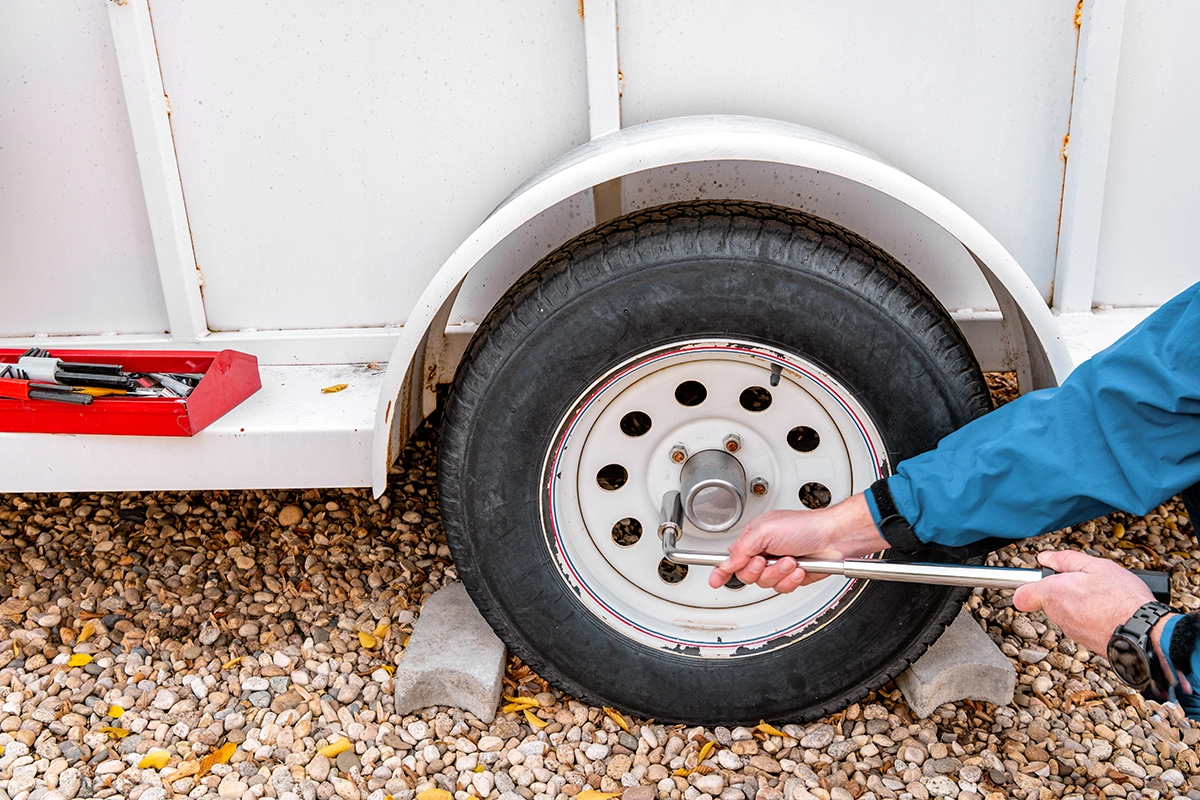
Regularly Check Mounting Hardware
Rooftop tents are incredibly secure with proper installation. Still, even the sturdiest tents are subjected to bumpy roads and regular use that can loosen mounting hardware. Be sure to routinely check nuts and brackets and tighten as necessary.
Dry Your Tent Before Storing
Storing a rooftop tent wet is the fastest way to develop mold and mildew. If you pack up in the rain, air the tent out completely once you’re home before storing it. You’ll also need to keep it sealed when not in use to prevent pests from nesting in the mattress.
Gear Up to Get Out There at Campway’s
Rooftop tent camping is an incredibly rewarding experience. At Campway’s, we carry a wide selection of camping and overlanding accessories. Our knowledgeable team can help you find the best gear and accessories for your vehicle, budget, and camping style.
Ready for your next great adventure? Visit any of our Northern California locations to shop in person or speak with one of our experts today.
References
- Bear-Resistant Food Canister | US Forest Service. (n.d.). US Forest Service. https://www.fs.usda.gov/visit/know-before-you-go/bears/bear-resistant-food-canister